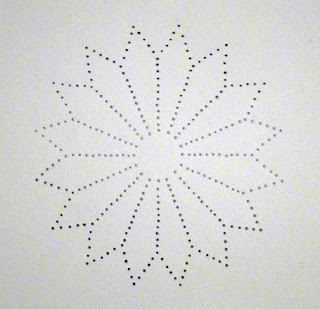
This is the final product.
The first step in creating a stitched design is to poke the holes with an awl. I place my pattern over top of the paper I want to stitch on - I use painters tape to secure the paper while I poke the holes. Painters tape will not leave any marks when you carefully remove it from your paper. If you are very careful when you poke the holes you can use the pattern again for another design.
Then I start stitching. I typically use DMC floss and match the colour of thread to a paper colour. You need to use a very thin needle so as not to enlarge the holes when you stitch.
You can see the progression of stitches and and how they overlap. You simply continue overlapping the stitches and you will end up with a petal like you see in the first picture.
I hope you have enjoyed the steps I take to make a stitched design on paper.


1 comment:
Thanks for posting this, Bon! It's amazing to see it take shape :o)
Post a Comment